


Laravel is one of the most popular open-source web application frameworks written in PHP and it aims to help developers build both simple and complex applications by making frequently-used application tasks (like caching and authentication) easier.
In this guide, we will deploy a simple Laravel application on Whogohosts’ cloud platform and it’s going to require some few steps. We will need a dedicated database for our app, application settings to ensure debugging information is not visible to the users.
This tutorial is to show you how to deploy an existing Laravel application on Ubuntu LEMP server. If you want to learn how to use Laravel, you can check Laravel documentation to learn how to use Laravel to build amazing applications.
Requirements:
To understand this tutorial, you will need:
- A functioning cloud server setup with getting your cloud hosting with sudo administrator’s privileges.
- Your Ubuntu server is using LEMP platform following selecting the right cloud platform.
- You should be familiar with the command line.
Step 1 – Installing Laravel Requirements and Dependencies
To deploy your Laravel application, you will need to install some PHP extensions and a PHP package manager (Composer).
We will start by updating the package manager.
Sudo apt-get update
The next thing is to install the PHP extensions and packages required to run Laravel application. Let’s start by running the following command.
sudo apt-get install php7.0-mbstring php7.0-xml composer unzip
After the installing the dependencies, we will need to configure MySQL database and create a user for the application.
Step 2 – MySQL configuration
Laravel currently supports multiple database management systems but for this tutorial, we will be using MySQL to store data for the sample application. MySQL will create a default root administrative account when you install the Ubuntu LEMP server. It is a bad security practice for us to use the root database account for our website because of it’s unlimited privileges to the database server. Let’s create a database account for Laravel application, as well as a new database that we will use for the Laravel application.
Login to MySQL root administrative account.
mysql -u root -p
Enter the password you set during MySQL installation and create a database called laravel_db, which we will use for our website.
mysql> CREATE DATABASE laravel DEFAULT CHARACTER SET utf8 COLLATE utf8_unicode_ci;
The next thing is to create a user that will be associated with the database. We will use usr_laravel as the username, you can customize it to whatever suit you. Replace password with your desired password.
mysql> GRANT ALL ON laravel_db.* TO usr_laravel @’localhost’ IDENTIFIED BY ‘password’;
Notify MySQL server of changes by flushing the privileges.
mysql> FLUSH PRIVILEGES;
Exit MySQL server
mysql> Exit;
Now, we have created a MySQL database and created a user account for it. The next thing we will do is to setup a demo laravel applications.
STEP 3 – Setting Up Application
We will be using a demo Laravel app made available on Github by laravel’s founder Taylor Otwell. It’s a simpleto-do list.
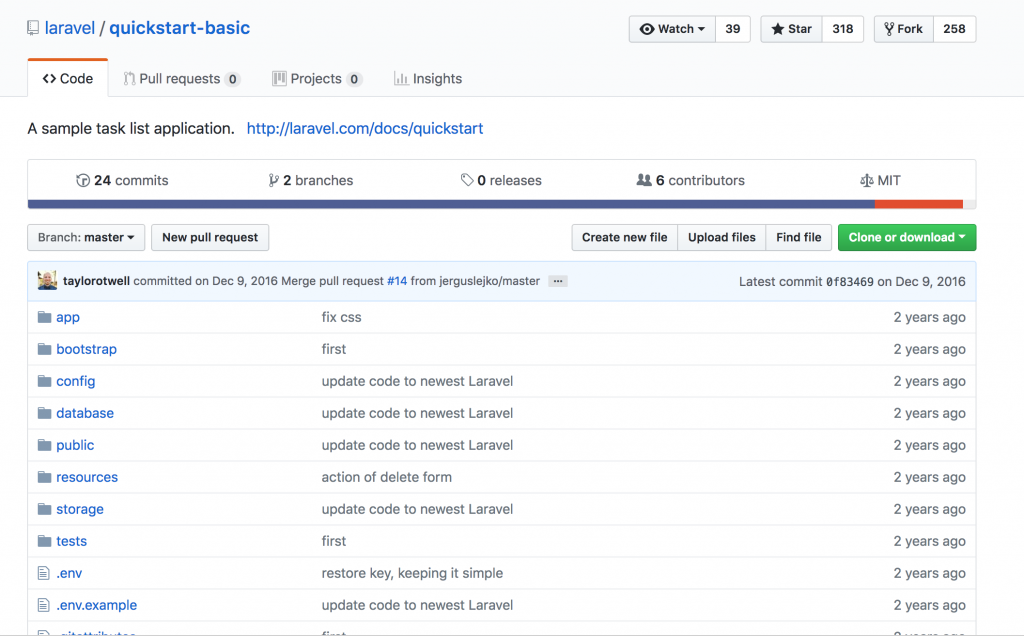
Clone Laravel Quickstart app from Git
The Github application is a simple laravel app that allows you to create, read, update and delete todo tasks saved in the MySQL database.
we will create a new project directory using the command below
sudo mkdir -p /var/www/html/todo_list
Move to the directory and clone the project using git.
cd /var/www/html/todo_list && git clone https://github.com/laravel/quickstart-basic
Git will download all the apps in the application repo into our todo_list directory.
Modify the environment file
The next step is to connect the todo app with the database created earlier. This is imperative for all our laravel applications, we can modify this by using any of text editors.
$ sudo nano /var/www/html/todo_list/.env
You will need to modify some details such as the database, username and password variables.
Save the file and exit.
Run the Database migration with the following command;
$ php artisan migrate
Artisan will ask if we want to run the migration in production mode. press y to continue.

Configure Nginx Server
Now that we have all our files and configuration ready, let’s create a new server block by using the default Nginx server’s configuration.
sudo cp /etc/nginx/sites-available/default /etc/nginx/sites-available/todo.com
Open the new config file using nano.
sudo nano /etc/nginx/sites-enabled/todo.com
We need to make some changes to some part of the file by making it look like this.
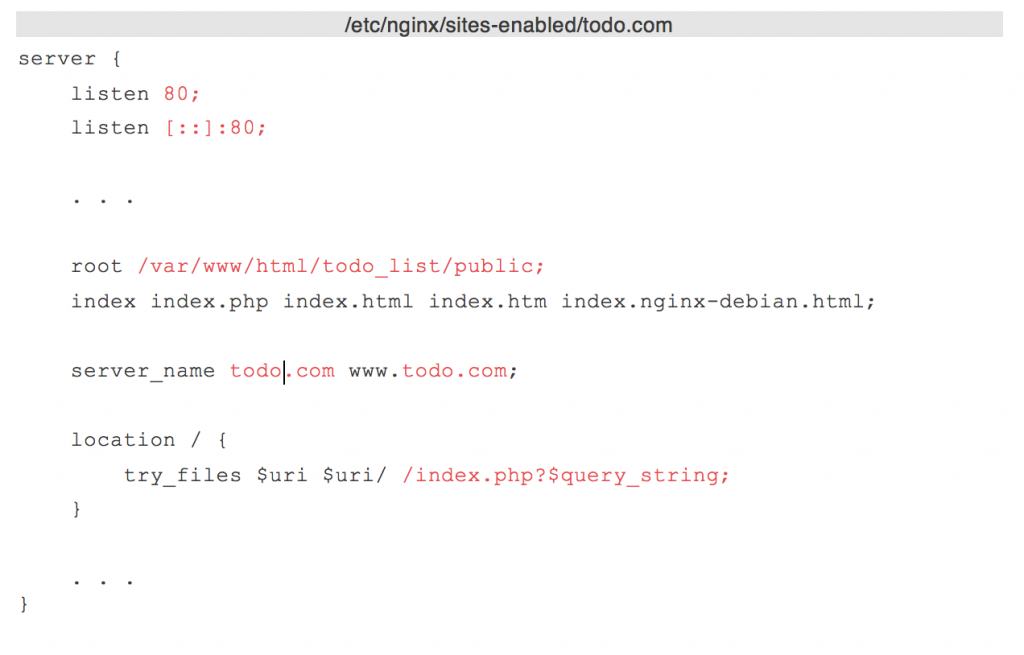
For our configuration file to work, we need to enable the file by creating a symblic link from the file we created to the sites-enabled directory.
sudo ln -s /etc/nginx/sites-available/todo.com /etc/nginx/sites-enabled/
Restart nginx server
sudo systemctl restart nginx
We can now visit the todo application with a web browser by going to todo.com where you will see the tasks application. You can try to add or remove tasks. The database will retain all the tasks you add to the list incase of subsequent visit to the app.


Thank you! I’ve learned so much from this article. I’m new to Laravel and it has been a great journey because of the amazing things I\ve done with it.